Online, customers cannot pick up a product, turn it around, check the material or the size. All they have is the photo. That is why product photography is not decoration on the page but a key part of the sale itself. A bad image creates doubt, and doubt stops a purchase. A good photo, on the other hand, builds trust, reduces questions before purchase and directly affects the conversion rate. In this guide, we go through the technical and practical aspects that make online store photography professional, from equipment and lighting to image formats that do not slow down your site.
Why is photo quality a business decision, not just aesthetics?
When it comes to selling online, photography is the only sensory channel the customer has. It replaces touch, smell and physical inspection of the product. This leads to several practical consequences:
- Fewer returns. If the image faithfully shows color, texture and proportions, customers get exactly what they expect, which means less disappointment and fewer returned items.
- Fewer questions before purchase. Detailed photos answer the questions customers would otherwise send by email or message, which speeds up their decision.
- Brand consistency. A uniform visual style across the whole catalog looks serious and polished, while inconsistent images give the impression of an amateur approach.
In other words, investing in photography is investing in sales, not in decoration. This decision should be made before you even start shooting.
Equipment: what do you really need?
There is a widespread belief that quality product photography requires expensive equipment. The truth is somewhat different. Stability, light and consistency matter more than the price of the camera.
Camera and lens
A modern smartphone shoots more than well enough for most smaller catalogs, as long as you use manual settings and avoid digital zoom. For larger volumes and more demanding products, a camera with interchangeable lenses pays off, where a medium focal length prime lens gives natural proportions without distortion.
Tripod
The tripod is the most underrated piece of equipment. It keeps the camera in the same position for every product, which gives you a uniform catalog, and it allows longer exposures without blur. Without a tripod, it is almost impossible to achieve consistency across hundreds of items.
Lighting
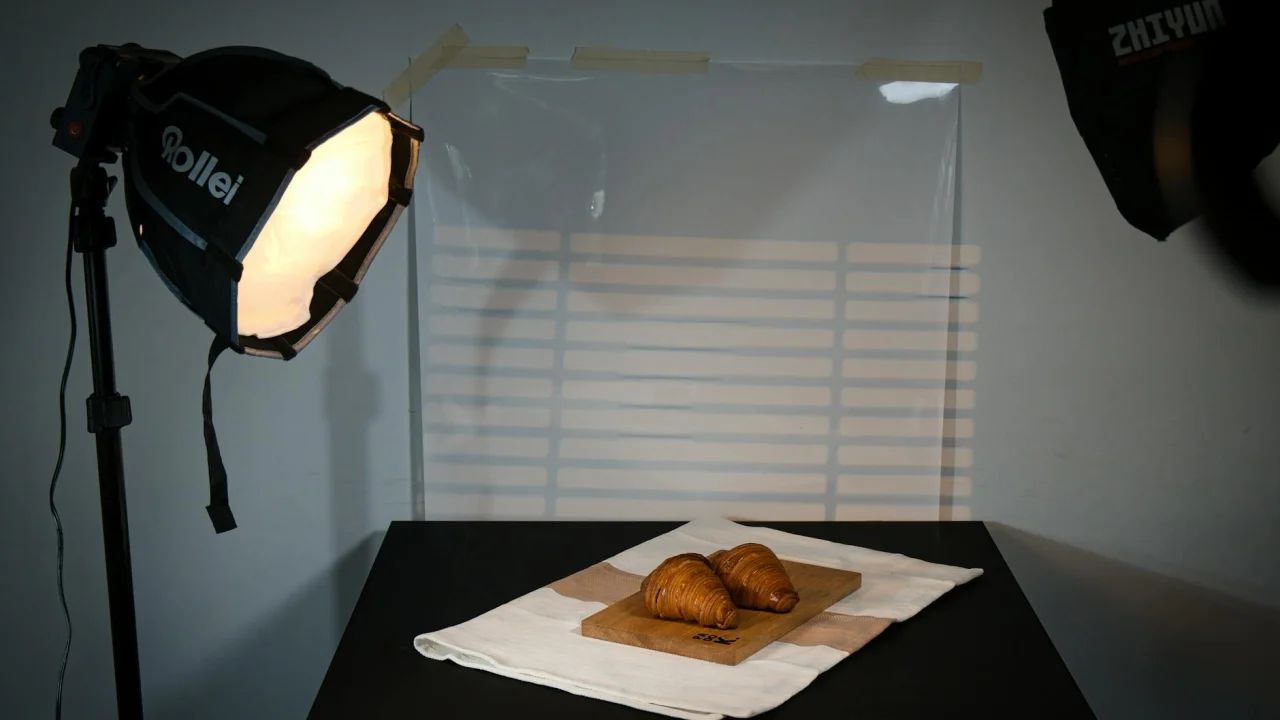
Soft, diffused light gives the best results. You can achieve it with a softbox, an LED panel with a diffuser or even natural light through a window with a white reflector on the opposite side. The goal is to remove harsh shadows and light the product evenly from at least two sources.
If you plan to sell online, see what our ecommerce development looks like: payments, shipping and invoices ready from day one.
Setup and composition
Shooting technique matters, but the setup itself decides how convincing the product will look. A few rules apply to almost every online store:
- A clean background. A white or neutral background isolates the product and makes it easier to cut out. A sweep table or a light tent is ideal for this.
- Multiple angles. Show the product from the front, side, back and up close for details. Customers want to see what they would otherwise check in a store.
- Scale. Where size matters, add a photo of the product in use or next to a familiar object so customers understand its dimensions.
- Consistent framing. The same distance, the same camera height and the same aspect ratio for all products make your category pages look neat and professional.
A combination of clean studio shots and a few photos in a real-life context usually has the strongest effect. The studio shot sells the detail, and the lifestyle shot sells the feeling.
Editing photos without overdoing it
Post-processing should fix what technique could not, not create a false image. Oversaturated colors or a retouched texture lead straight to returns and unhappy customers. A reasonable amount of editing includes:
- straightening the horizon and cropping to a consistent aspect ratio;
- correcting exposure and white balance so colors stay true to reality;
- removing dust, smudges and small imperfections in the background;
- centering the product in the frame with even margins.
The most important editing rule: the color in the photo must match the color of the product the customer receives. Everything else is secondary.
Formats, sizes and image optimization
This is where photography moves from aesthetics into website technology. Large, unoptimized images slow down loading, and a slow site loses customers and ranks worse in search. The goal is visual quality with the smallest possible file size.
| Format | Best use | Note |
|---|---|---|
| WebP | Main format for an online store | Excellent compression with high quality, supported in all modern browsers |
| AVIF | Maximum size savings | Even smaller files, with a fallback for older browsers |
| JPEG | Fallback format | Universally supported, but larger than WebP at the same quality |
| PNG | Images with a transparent background | Large file size, use only when transparency is essential |
Beyond choosing a format, it is worth applying the following techniques:
- Responsive images. Serve different sizes for mobile and desktop through responsive image attributes, so a phone does not download an image meant for a large screen.
- Lazy loading. Load images outside the visible part of the screen only when the user scrolls to them.
- Defined dimensions. Specify the image width and height in the code so the layout does not shift while loading.
- Descriptive alt text. Every image needs a meaningful description for accessibility and to help search engines understand the content.
These details are part of quality ecommerce development and are closely tied to SEO optimization, because loading speed directly affects rankings and customer behavior.
A practical workflow for the whole catalog
When you are shooting dozens or hundreds of products, a system matters more than inspiration. The recommended workflow looks like this:
- Set up the lighting, background and camera once and do not touch them until the end of the series.
- Shoot in batches of similar products so the settings stay constant.
- Name files by product code right when you shoot, so they are easy to match to the catalog later.
- Edit the images using the same preset, applying the same corrections to the entire batch.
- Export in an optimized format with predefined sizes for the web.
This approach saves time, keeps the catalog consistent and is easy to repeat when you add new products.
Conclusion
Product photography is where marketing, trust and technology meet. A good image sells the product, and a technically well-prepared image protects your site’s speed and rankings. The best results come when visual quality and technical optimization are planned together, right when the online store is being set up. If you want your catalog to look consistent and load fast, feel free to contact us and we will talk about a setup that suits your product range.